Wednesday, November 6, 2024
Lean-to storage shed basics: a diy guide

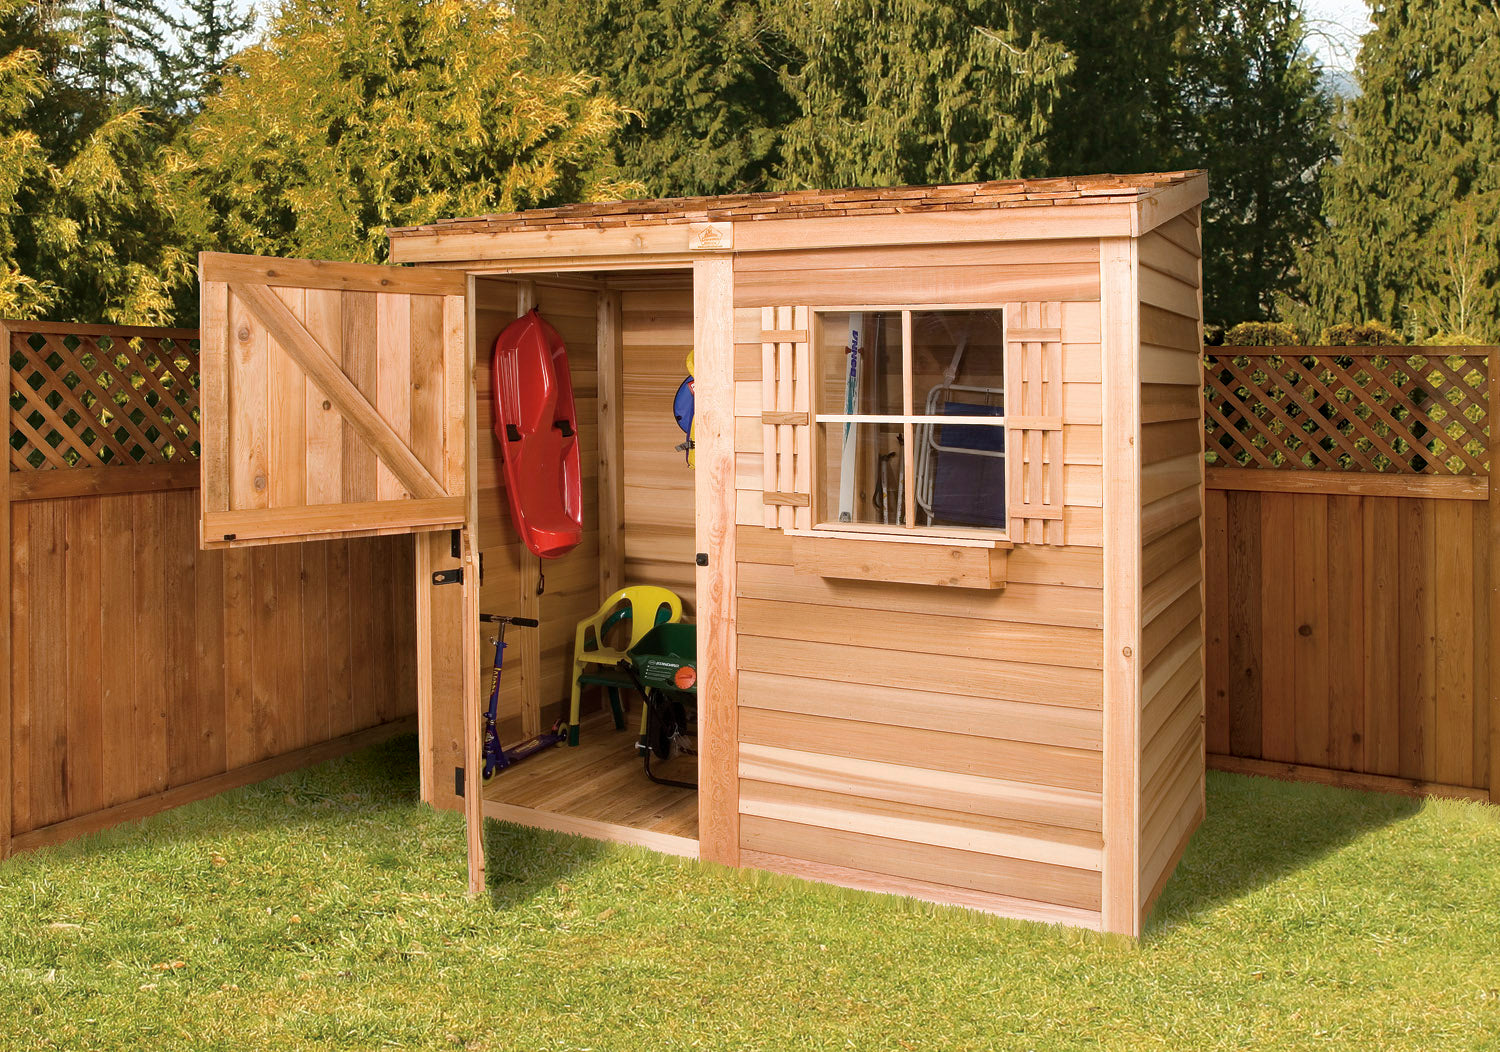
Alright, folks, let's talk sheds. More specifically, let's talk about lean-to sheds, the simple, versatile, and surprisingly sturdy additions to your backyard that can make your life so much easier.
If you're tired of tripping over garden tools, finding your bike buried under a pile of yard waste, or simply need a dry place to store your outdoor furniture, a lean-to shed is the perfect solution. Plus, building one yourself is a DIY project that's surprisingly accessible, even for beginner builders.
Let's Break It Down: What Makes a Lean-To Special?
The name says it all: a lean-to shed basically "leans" against an existing structure, like your house, garage, or even a fence. This design eliminates the need for a full-blown roof support system, making it easier to build and saving you some serious cash.
But don't let its simplicity fool you. Lean-tos offer plenty of storage space and can be customized to fit your needs. You can even add windows, doors, and shelves to really make it your own.
Planning Your Lean-To: Getting Started Right
Before you get your hands dirty, let's plan this out. Here's what you need to consider:
Location, Location, Location: Choose a spot that's level, well-drained, and accessible. You'll need enough space for the shed's footprint and for easy access, especially if you're using a wheelbarrow or other equipment.
Size Matters: Decide on the dimensions of your shed. Consider the items you'll be storing and how much room you need. You can find free online shed plans or create your own. Remember, you can always build a smaller shed and expand later if needed.
Materials Matter: Choose your materials wisely! For the frame, you'll likely want pressure-treated lumber, as it's resistant to moisture and rot. For the walls and roof, you can use plywood, OSB (oriented strand board), or even cedar or redwood for a more rustic look.
Getting Permits: Check with your local building department to see if you need any permits. It's better to be safe than sorry!
Building Your Lean-To: A Step-by-Step Guide
Alright, let's get our hands dirty! Here's a basic rundown of the construction process:
1. Prep the Ground: Clear the area and level the ground for your shed's foundation. You can use concrete blocks, gravel, or even a simple wood frame for support.
2. Build the Frame: Start with the bottom plate, which will be attached to your existing structure. Then, erect the vertical posts and connect them with top plates. You can use a level to ensure everything is plumb and square.
3. Add the Walls: Attach the walls to the frame, making sure they are securely fastened. Don't forget to cut out openings for doors and windows.
4. Roof Time: Frame the roof, using rafters that slope towards the front or back of the shed. You'll need a good understanding of roof pitch and rafter placement for this step. Don't worry, there are plenty of resources online and in DIY books to help you with this.
5. Sheathing and Roofing: Sheath the roof with plywood or OSB and then install your chosen roofing material. Remember, the roof is the shed's most important weather barrier.
6. Doors and Windows: Install your doors and windows, making sure they are properly weather-sealed. You can use pre-hung doors for ease of installation.
7. Finish Touches: Add siding, trim, and any other finishing touches you desire. You can even paint or stain your shed to match your existing structures.
Important Tips and Tricks for a Successful Build
Here are some key things to keep in mind as you build your lean-to:
Measure Twice, Cut Once: This is a classic DIY rule, but it's especially important for a shed. Accurate measurements will save you time, frustration, and potentially wasted materials.
Use Quality Lumber: Invest in good-quality lumber for your frame and walls. It will last longer and make your shed sturdier.
Strengthen Your Connections: Use structural screws, bolts, and heavy-duty fasteners to connect the different parts of your shed. This will ensure a secure and long-lasting structure.
Don't Forget the Details: Pay attention to weatherproofing and ventilation. Proper sealing around doors and windows, as well as vents for airflow, will help keep your shed dry and protected from moisture.
Add Extra Storage: Consider adding shelves, hooks, and pegboards to make the most of your shed's storage space. You can even add a work bench if you plan to use your lean-to for projects or hobbies.
Beyond the Basics: Taking Your Lean-To to the Next Level
Once you've mastered the basics, you can add some extra features to make your lean-to even more functional and enjoyable:
Electrical Power: Add an outlet or two for lighting, tools, or even a small heater in colder months. Make sure the wiring is done properly and meets local building codes.
Windows for Light and Ventilation: Windows not only brighten up the interior but also provide much-needed ventilation. You can use sliding windows or even skylights for a unique touch.
A Welcoming Entry: A sturdy door, weather stripping, and maybe even a decorative doormat will make your lean-to feel like a real extension of your home.
The Bottom Line: Building a Lean-To Is Worth It!
Building a lean-to shed is a fantastic DIY project for anyone with a little time and patience. It's a cost-effective solution for storage needs, and it can even add value to your property. With a little planning and effort, you can build a lean-to that you'll enjoy for years to come.
So, grab your tools, gather your materials, and let's get started on that lean-to storage haven! You won't regret it.