Thursday, November 7, 2024
How to create a sturdy firewood storage shed

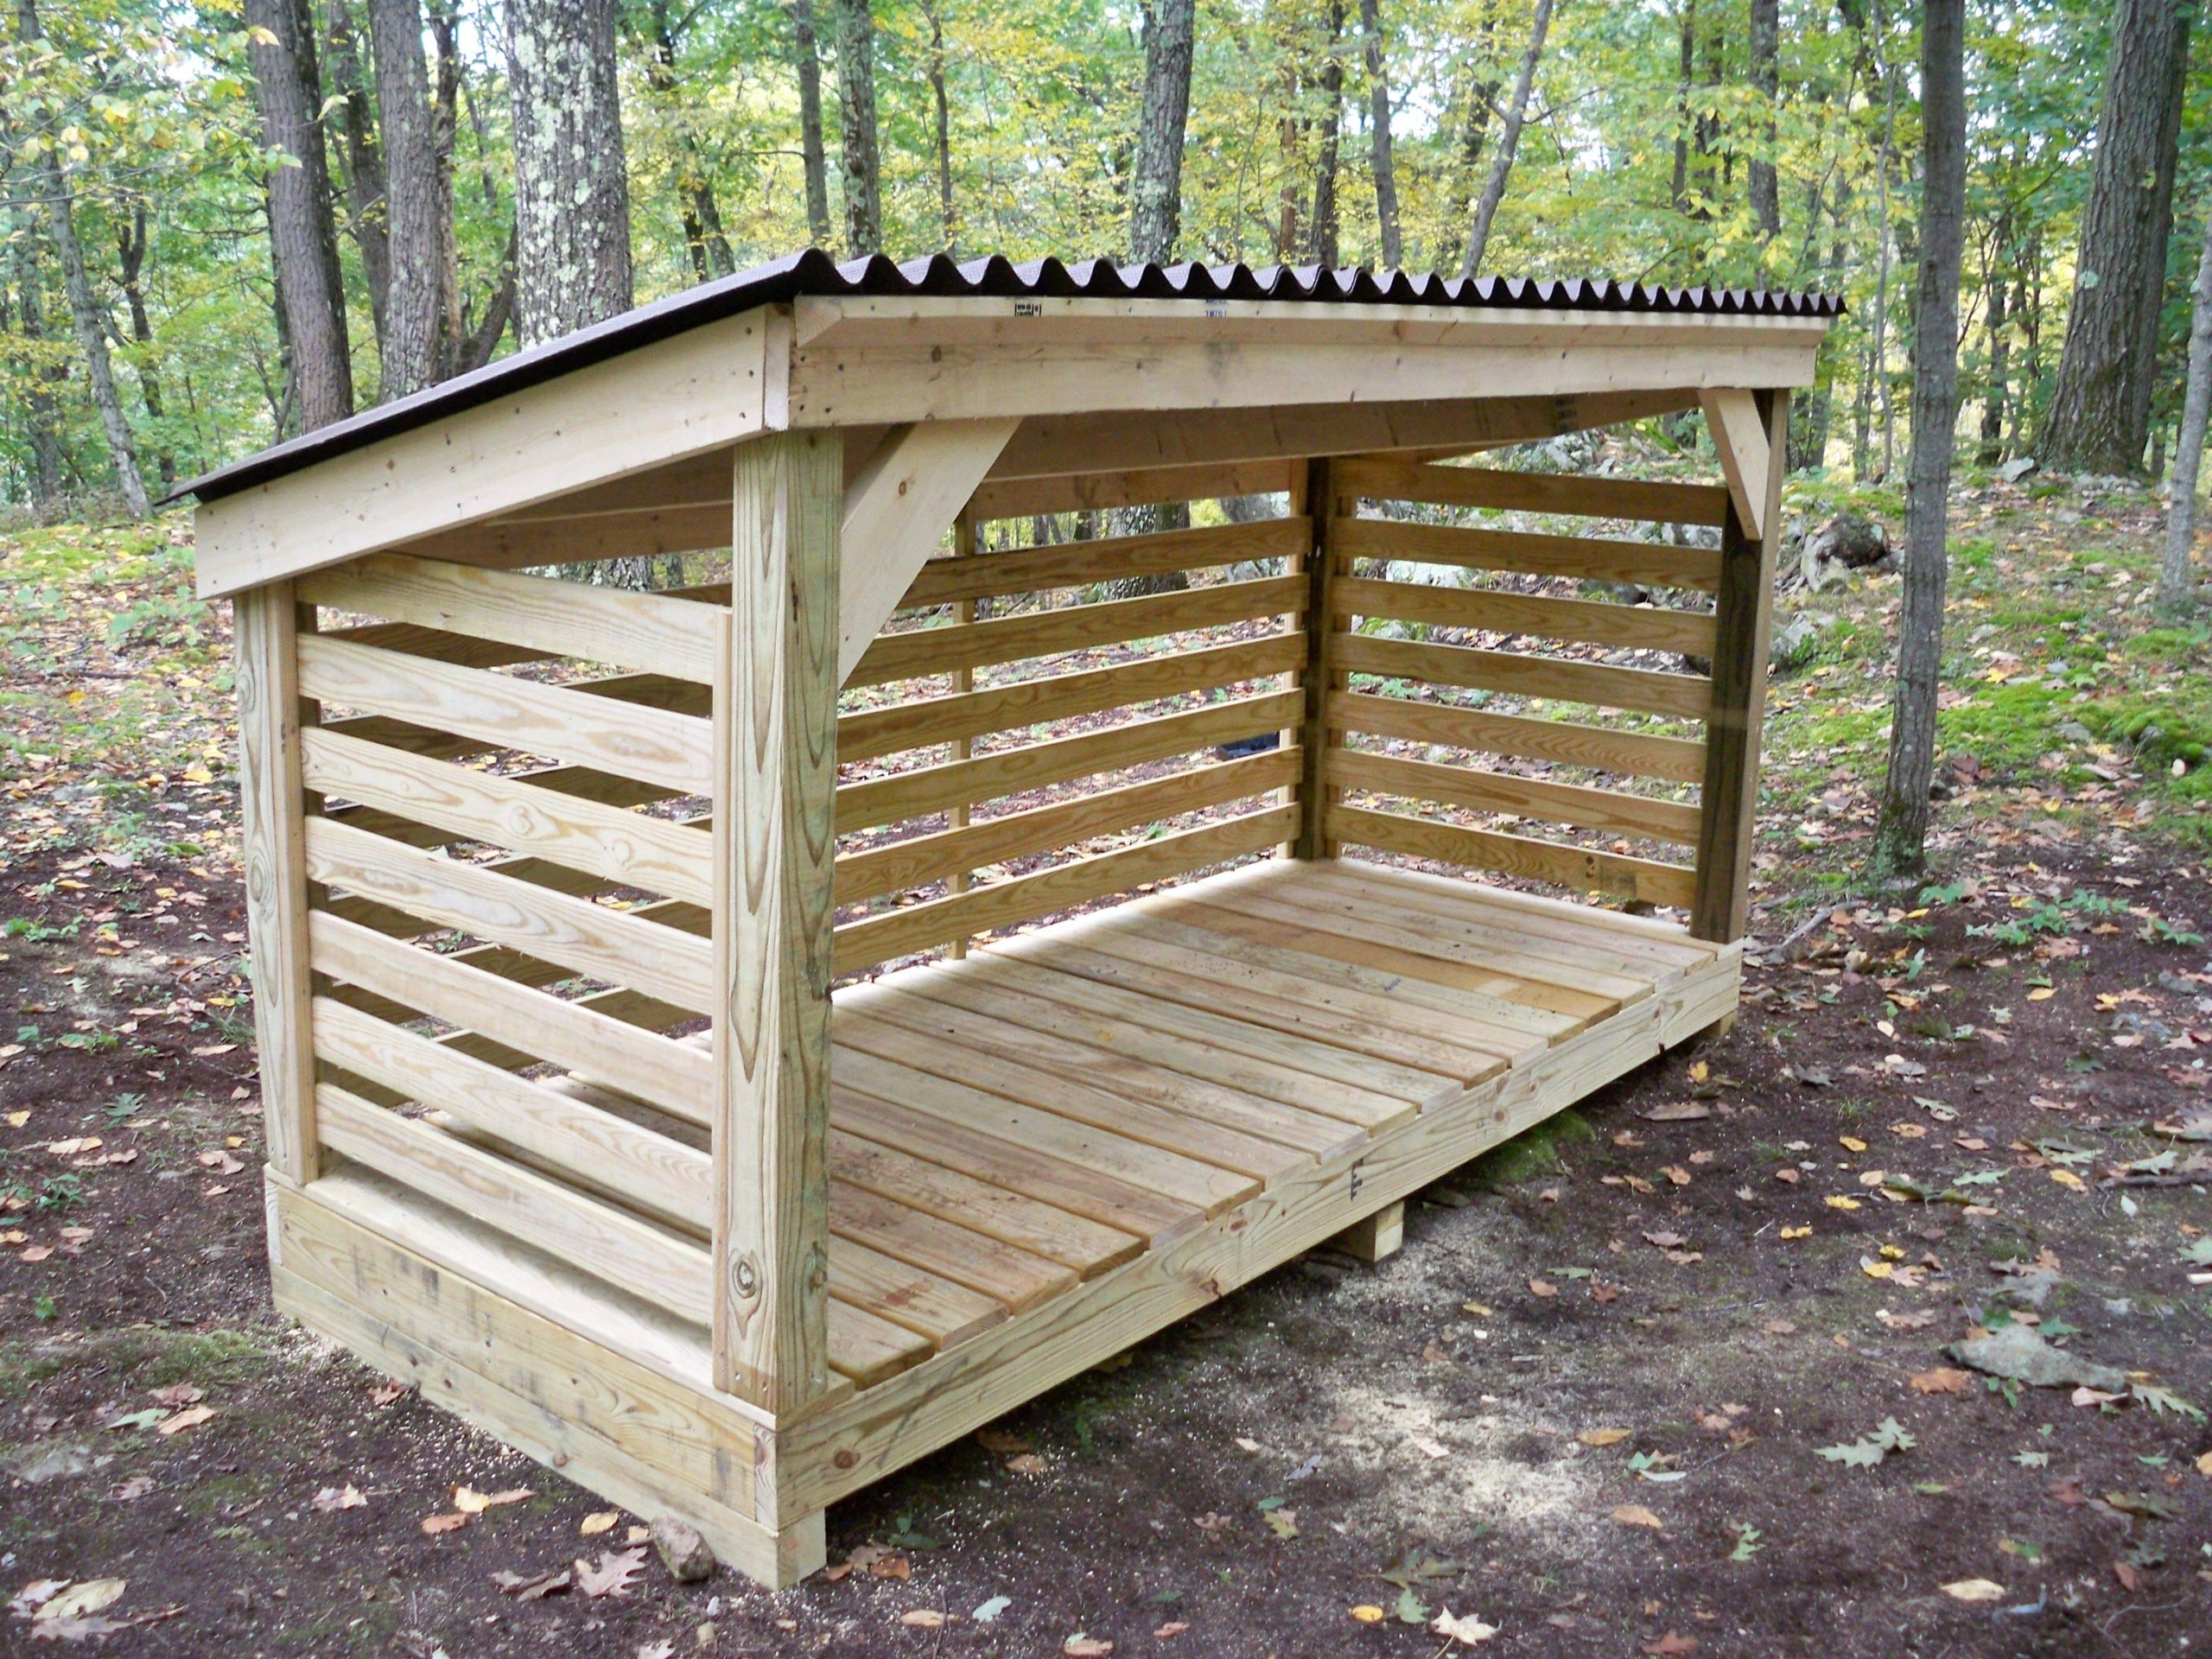
Alright, folks, let's talk firewood. We all know the struggle â€" hauling those heavy logs, finding a place to stack them, and then battling the elements. But what if I told you, you could build a sturdy, long-lasting firewood storage shed that'll keep your fuel dry and ready for those cozy winter nights?
Let's get started with a plan. This isn't just throwing together some boards and calling it a day â€" we want a structure that'll stand the test of time, not crumble under a pile of damp wood.
First things first: The blueprint
Before you even think about picking up a hammer, you gotta sketch out what you want. Think about the size, shape, and style of your shed.
Size matters: Consider how much firewood you typically need and how much space you have in your yard. A small shed might fit perfectly in a corner, while a larger one might require more space and maybe even some concrete pads for support.
Shape and Style: Do you want a simple, rectangular shed or something more elaborate with a gable roof or even a fancy overhang? Think about how you want it to blend with your surroundings.
Choosing your materials:
Now, this is where the fun (and sometimes, the confusion) begins. You’ve got to choose your weapons, er, I mean, materials. Here are some common options:
The backbone: Framing
Pressure-treated lumber: A great choice for the base, especially if you live in a humid climate. It's resistant to rot and insects, making it super durable.
Standard lumber: For walls and roof framing, good ol' standard lumber works fine. You can save a bit of cash, but make sure to use some wood preservative to protect it from moisture.
The sheathing: Putting on the layers
Plywood or OSB: These are the sheets that go over the framing to create a solid surface for the exterior covering. Choose a moisture-resistant option for better longevity.
The outer shell: Protection against the elements
Wood siding: A classic look that's relatively easy to install. Consider cedar, redwood, or pressure-treated pine for durability and natural beauty.
Metal siding: This option offers superior strength and protection against moisture and insects. It comes in a range of styles and colors to match your aesthetic.
The roof: Keeping it dry
Shingles: A popular choice, offering a variety of colors and styles. They provide excellent water protection but can be a bit more expensive.
Metal roofing: Strong, durable, and energy-efficient. It reflects heat, making it ideal for sunny climates. Plus, it's low-maintenance.
Building the beast: Let's get our hands dirty
Now that you've got your materials, it's time to get down to the nitty-gritty. Remember, safety first! Wear protective gear, use sturdy ladders, and don't lift anything too heavy on your own.
1. Laying the foundation:
Mark out the dimensions of your shed and level the ground.
Pour concrete footings for support.
Attach pressure-treated sill plates to the footings.
2. Framing the walls:
Cut and assemble wall framing using stud lumber and a level.
Make sure to include bracing for extra stability.
3. Sheathing the walls:
Secure plywood or OSB sheathing to the walls using nails or screws.
Leave gaps for windows and doors if you're planning on including them.
4. Building the roof:
Construct roof trusses (or use pre-made ones) and attach them to the wall framing.
Secure the roof sheathing, again using plywood or OSB.
5. Covering it up:
Install your chosen siding (wood, metal, or other material).
Secure the roofing material, whether shingles, metal, or another option.
6. Adding the finishing touches:
Install windows and doors if desired.
Add trim and decorative elements to enhance the look.
Consider painting the exterior for added protection and curb appeal.
Don't forget about the inside:
The exterior is just the beginning. You want a shed that's functional, so let's work on the inside:
Floor: Lay down a plywood subfloor and then install a finish floor. Consider using treated lumber for the subfloor in a humid climate.
Storage options: Think about how you'll store your wood.
Shelves: Great for smaller pieces or kindling.
Stacking racks: For larger logs, you can build a simple racking system.
A combination of both: Mix and match to suit your needs.
Ventilation: Important for preventing moisture buildup and promoting good airflow. Consider installing vents on the roof and walls.
Time for a final flourish:
Once your shed is built, you can add those personal touches that make it truly yours.
Paint it: A fresh coat of paint can enhance the look and protect the wood.
Add a door: A sturdy door will keep your firewood secure and make it easy to access.
Install lighting: You'll need some light for those late-night fire-starting sessions.
Landscaping: Plant some trees or shrubs around the shed to create a natural barrier and add visual appeal.
And there you have it! You've built your own firewood storage shed, a true testament to your DIY skills and a source of pride for your home. Now, sit back, relax, and enjoy the warmth of a crackling fire, knowing your wood is safe and sound. Happy burning!